Style: one look for everything
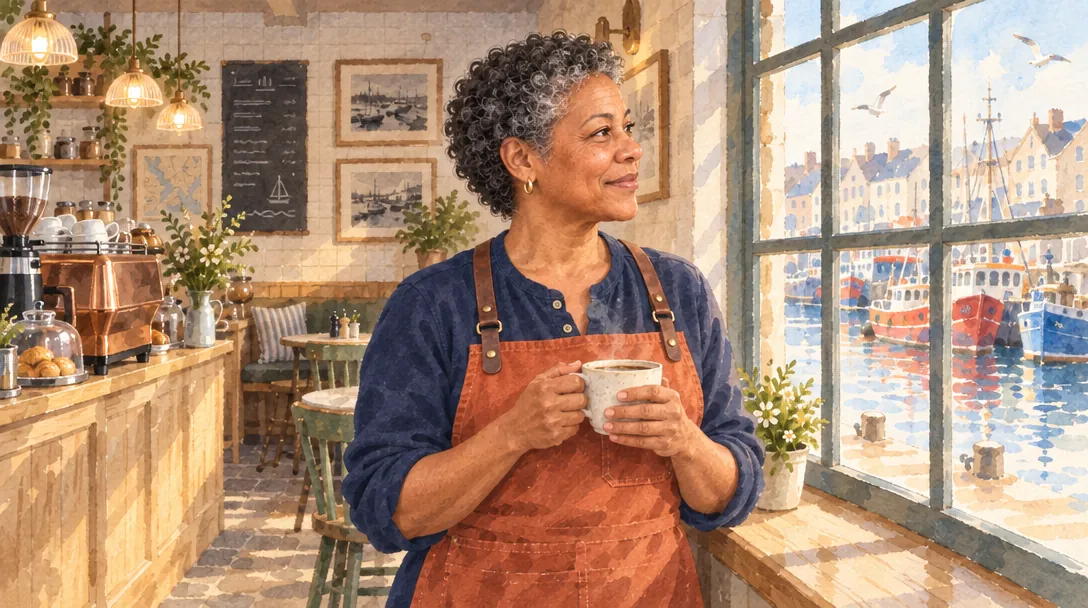
Give every picture and clip the same look — a painting, ink, felt and clay — with a ready-made style or one made from your own pictures.
A style is a look: the colours, what the picture seems to be made with (paint, ink, felt, clay), the texture and the light. Add one to a prompt and the picture comes out in that look. A style copies only the look, never what’s in its pictures.

- Ready-made
- Nearly 200 on the Styles page, free for everyone
- Your own
- Made from 1 to 20 example pictures
- Cost
- Free. Adding a style doesn’t change a run’s price
- Works on
- Every picture and video model
Use a ready-made style
From the Styles page
- 1Open Styles in the left menu. Browse the families or search.
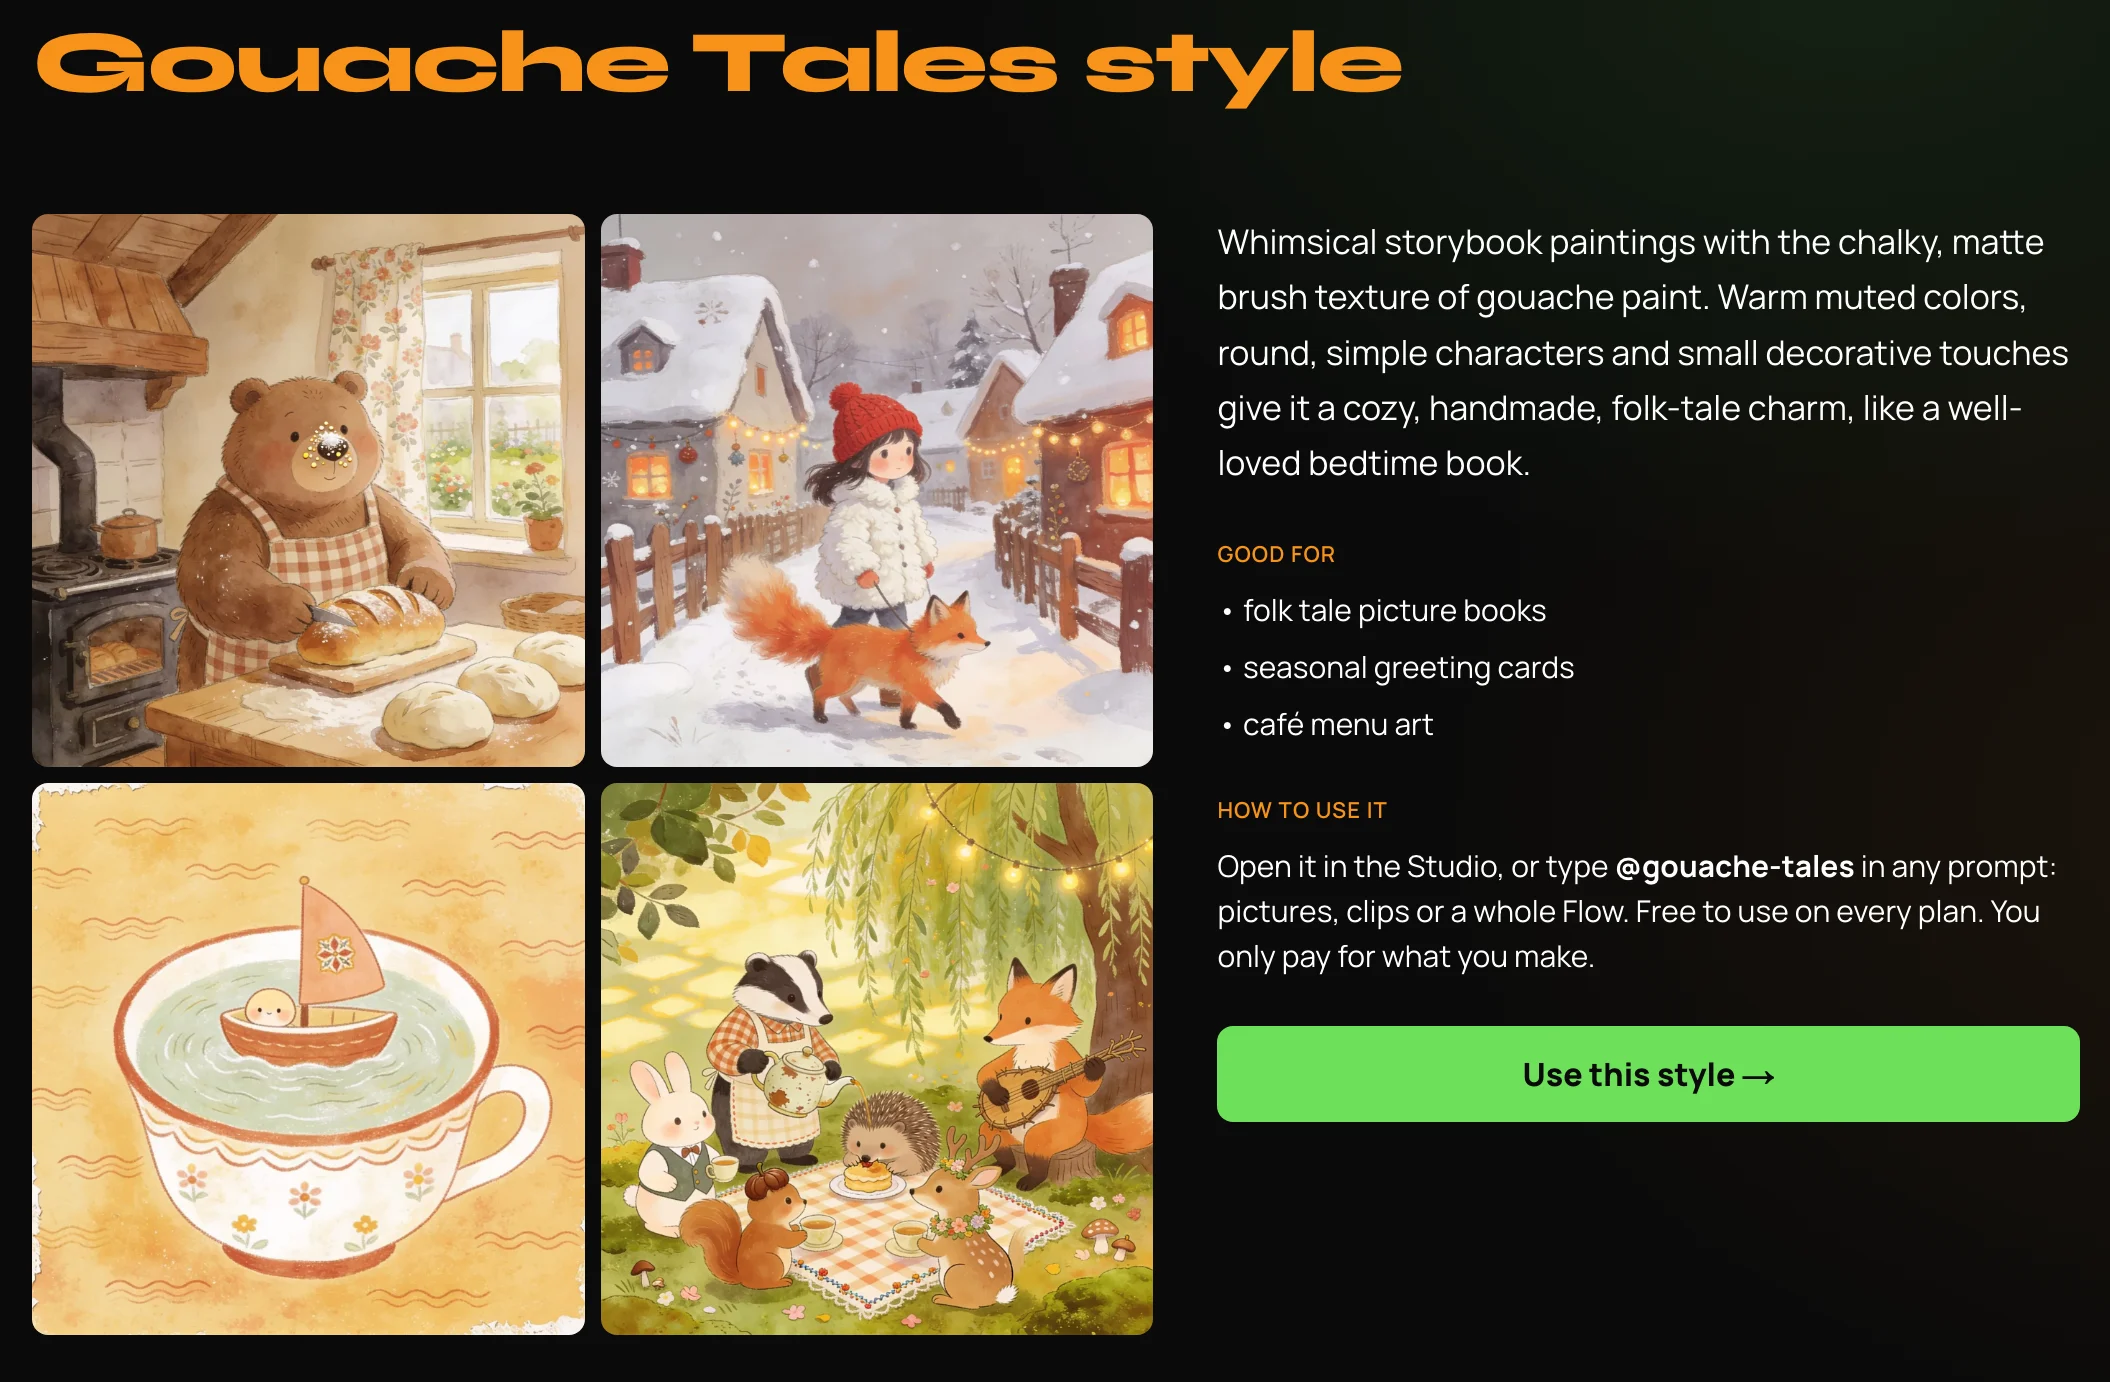
- 2Click a style to see its example pictures, what it’s good for, and its @name.
- 3Press Use this style →. The Studio opens with “In the style of @gouache-tales” already in the prompt. Write the rest of your prompt and generate.
From the Studio
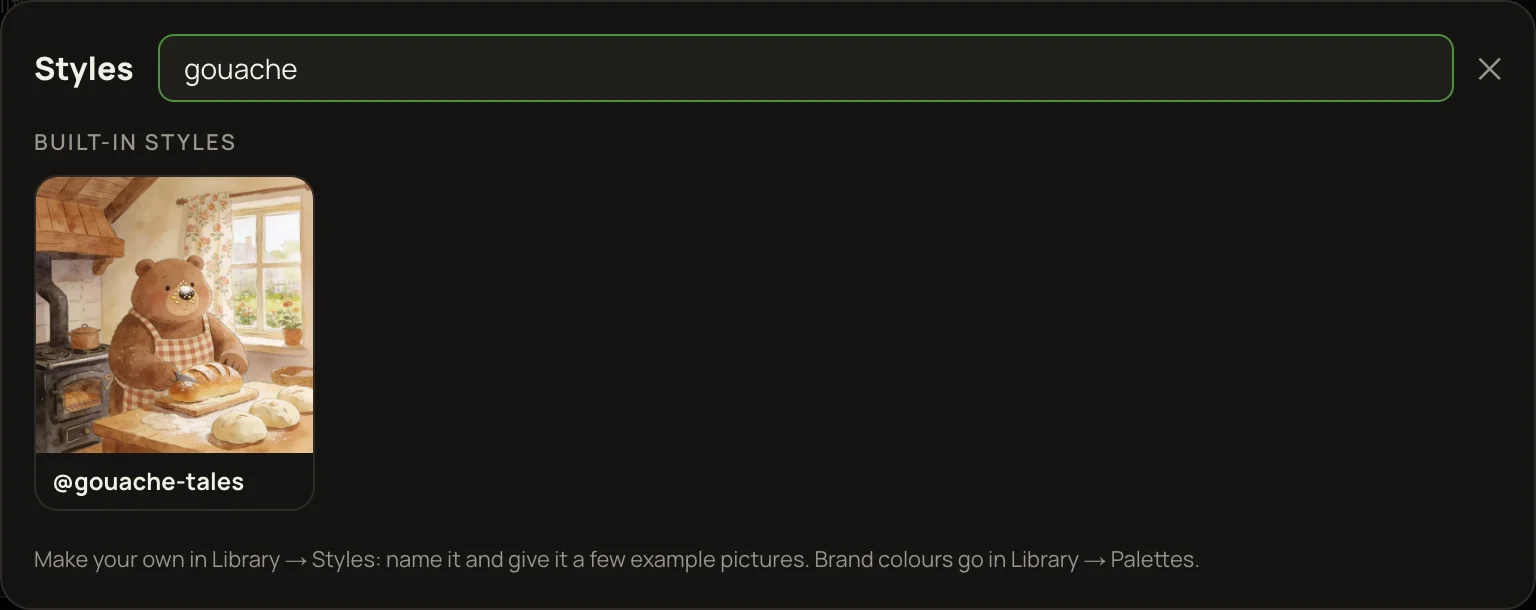
Under the prompt, press 🎨 Style. Search or scroll, then pick one. The end of your prompt gets “in the style of @…”. Only one style at a time: picking another replaces the first. You can also just type @ and the style’s name.
Make your own style
Have pictures in a look you love? Turn them into a style.
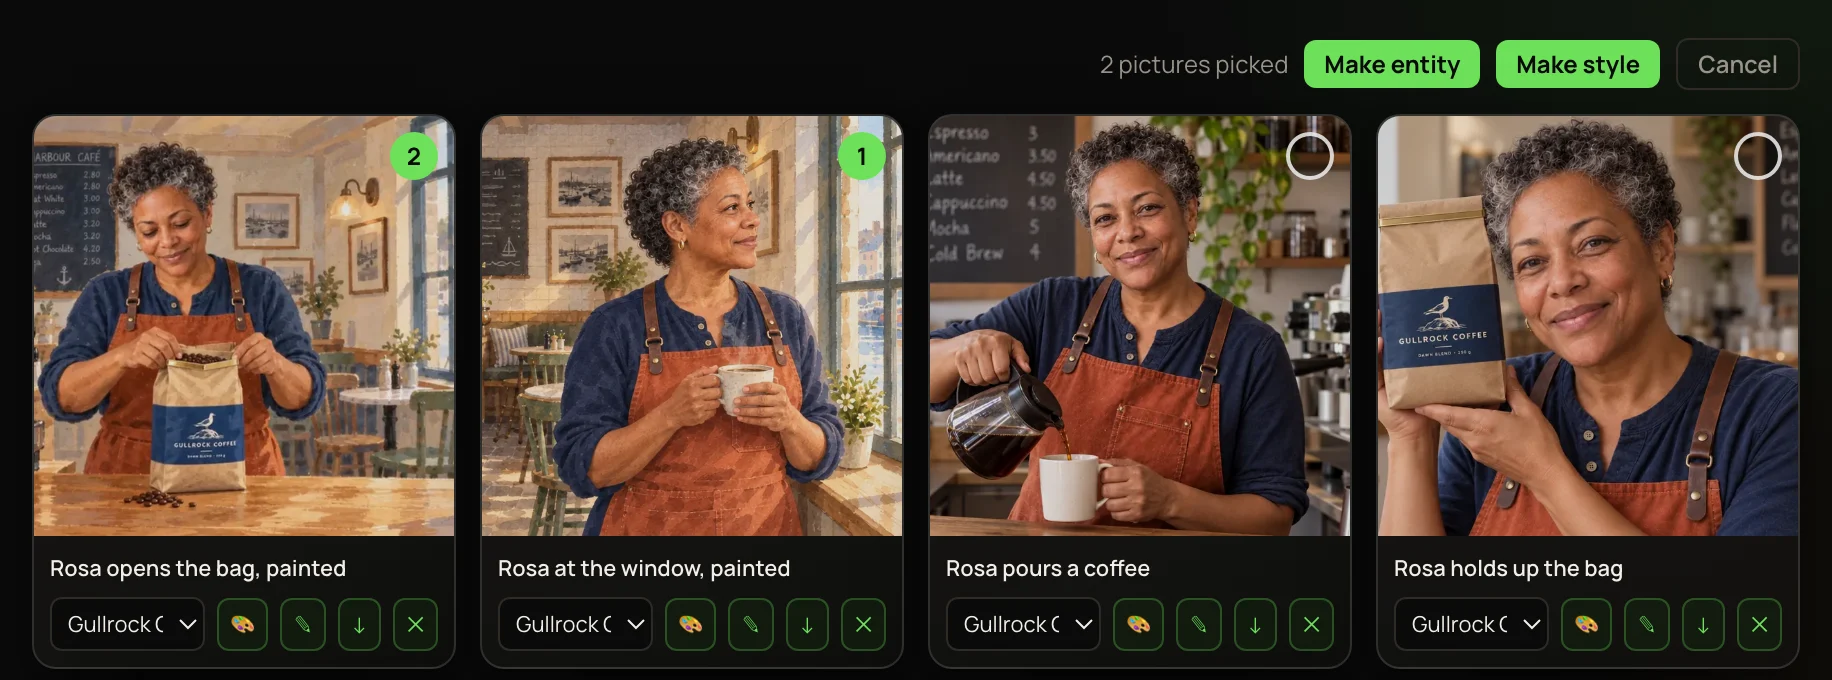
- 1In the Library, press Make entity or style from pictures.
- 2Tick the pictures that show the look. Pick ones that share the look but show different things, so the style learns the look rather than one subject.
- 3Press Make style. The New style window opens with your pictures, and the description is written for you straight away. Read it and fix anything that’s off — it’s what models that only read words get.
- 4Type a name and press Create @….
How the model gets it
Like every entity, a style reaches the model in one of two ways (see Why the model you pick matters):
Another example
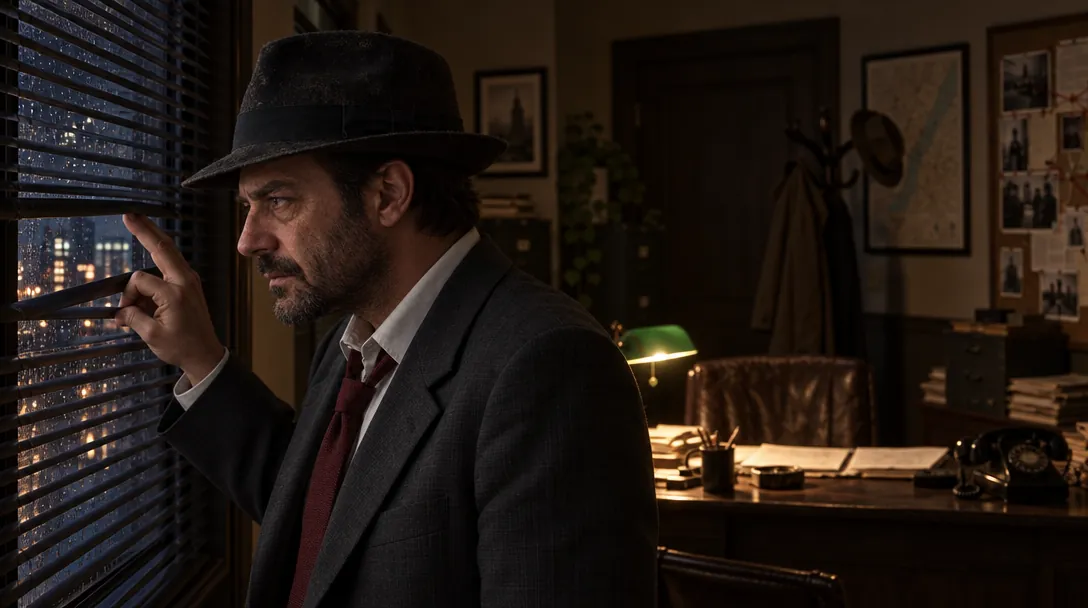
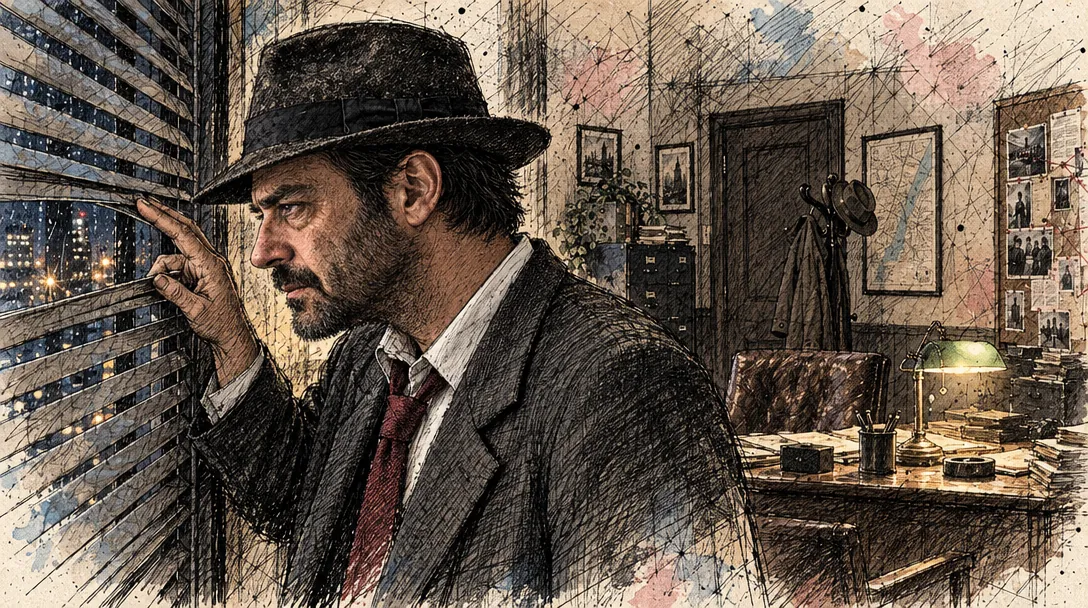
Telling a story in one look? Style first, then save
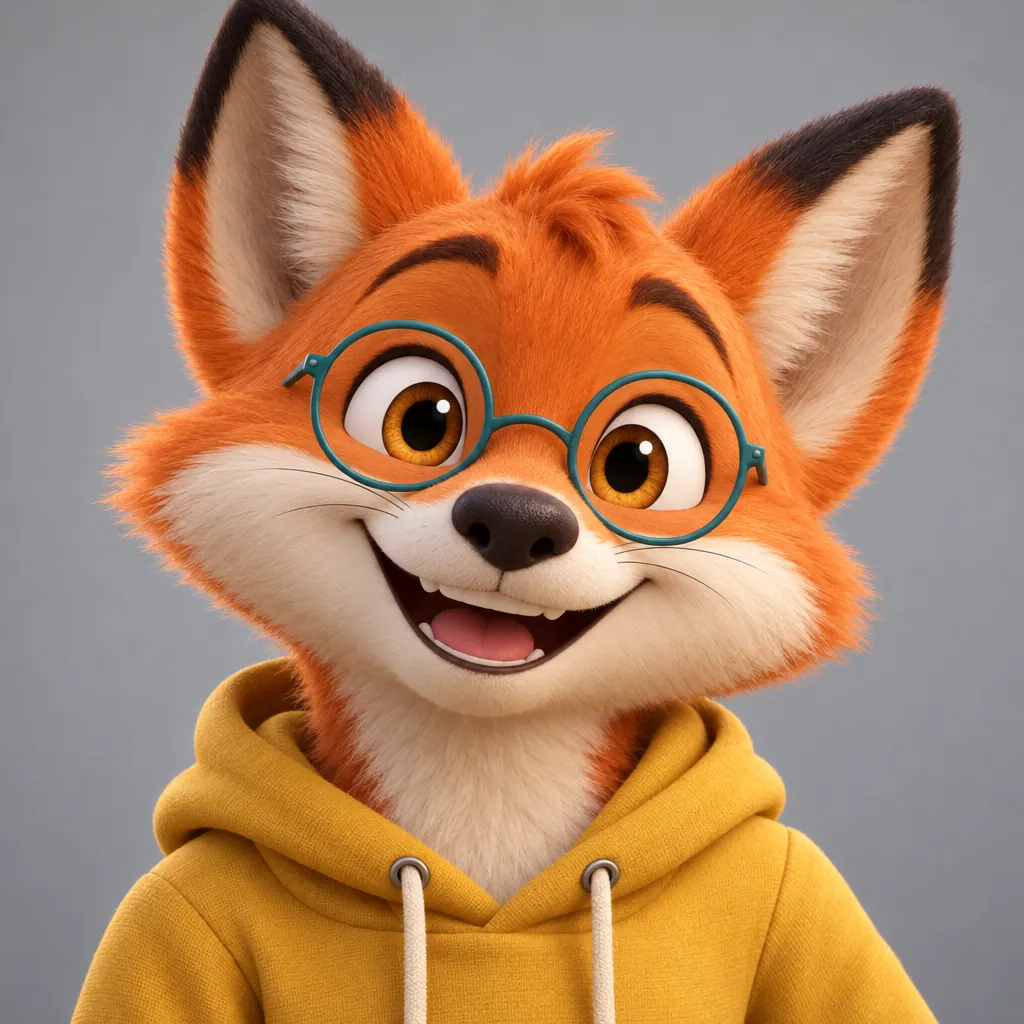
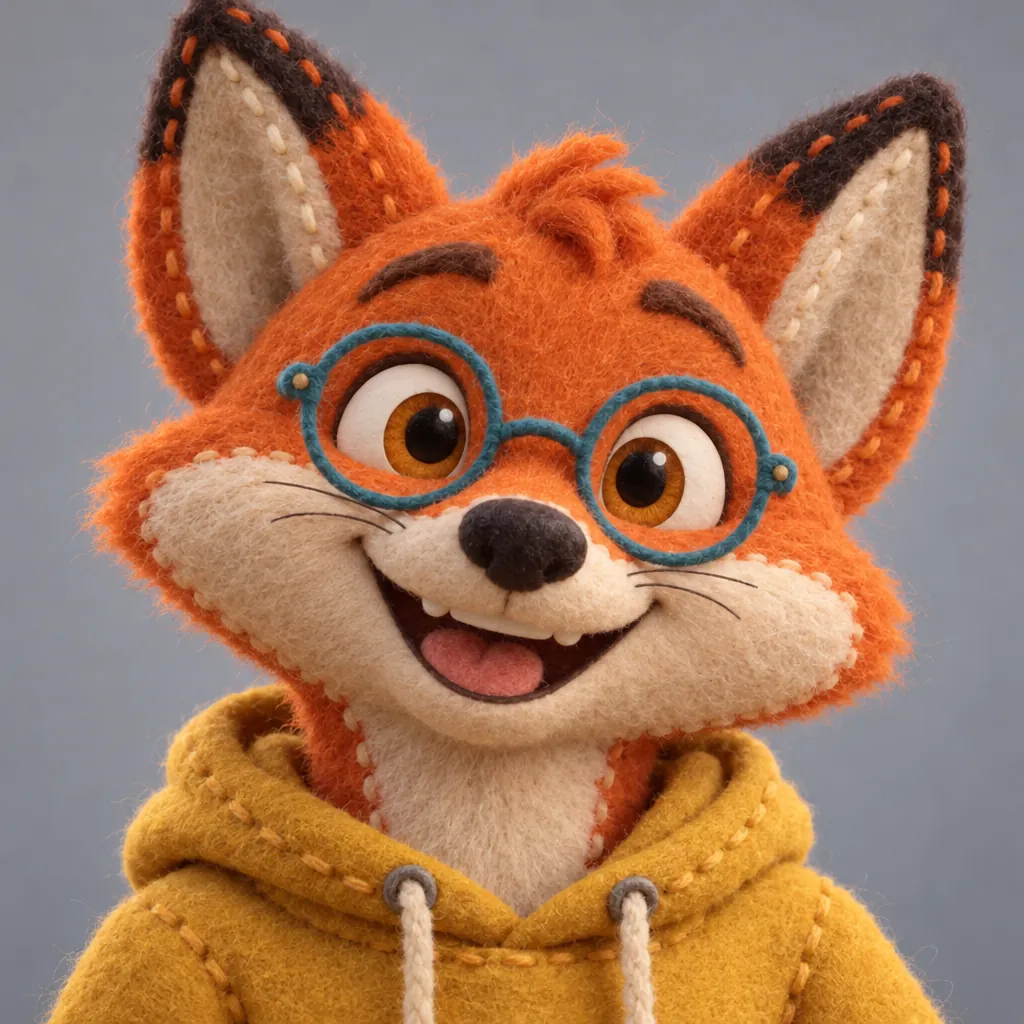
If a whole story should be in one look, put the style on your characters, props and places before you save them as entities. Here’s why. Pembrook the fox was first made as a smooth 3D cartoon. Saved like that, then asked for “in the style of @felt-and-clay”, his own 3D pictures won: he kept his smooth fur.
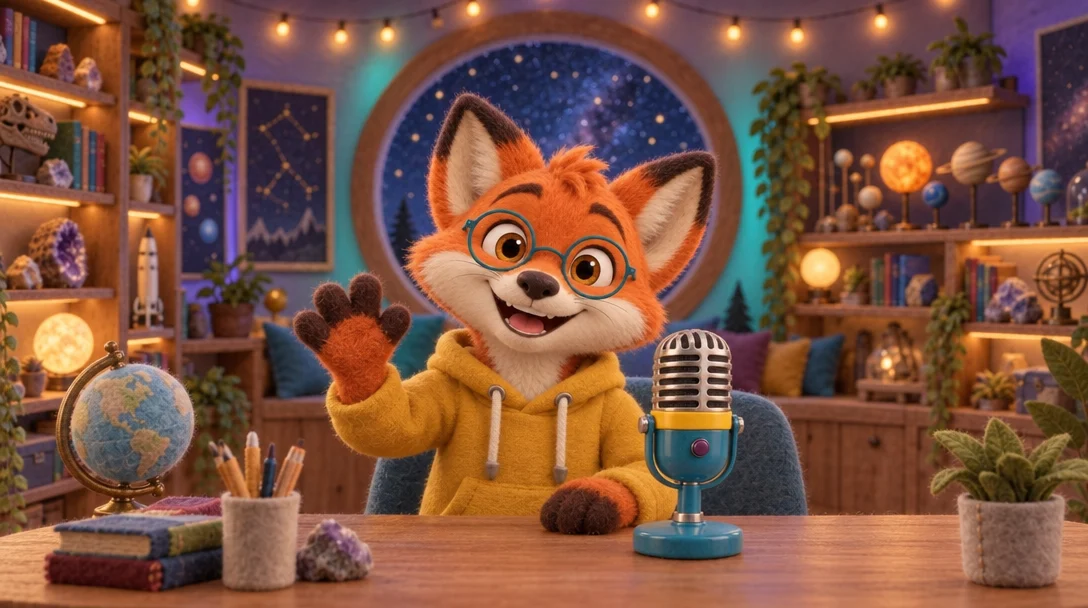
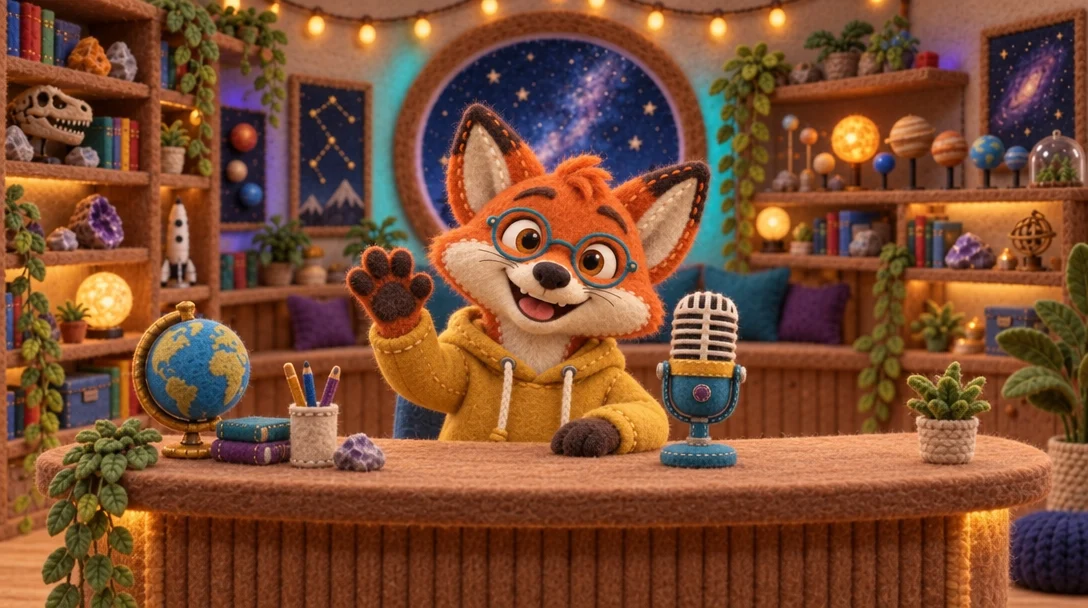
- 1Make the picture of your character, product or place as usual.
- 2Redraw it in the style: pick a model that looks at pictures (like GPT Image 2.5 Sunburst Edit), use the picture as the source image, and write “the same character, same face and clothes, same pose — redrawn in the style of @felt-and-clay”.
- 3Save the redrawn picture as the entity. Do the same for each of its pictures, and for each prop and place.
Styles in video
Put the style on your pictures, then turn them into clips. The clip keeps the look of its picture, so the video prompt only needs to describe the movement — no style needed there.
The Pembrook film: three felt pictures, each animated with Kling 2.5 Turbo Pro and joined into one 15-second film. The felt look holds in every shot.
To rename or delete a style of your own, see Change, delete or check an entity.