Change, delete or check an entity
Add or swap pictures, fix the description, rename or delete an entity — and see everything you’ve made with it.
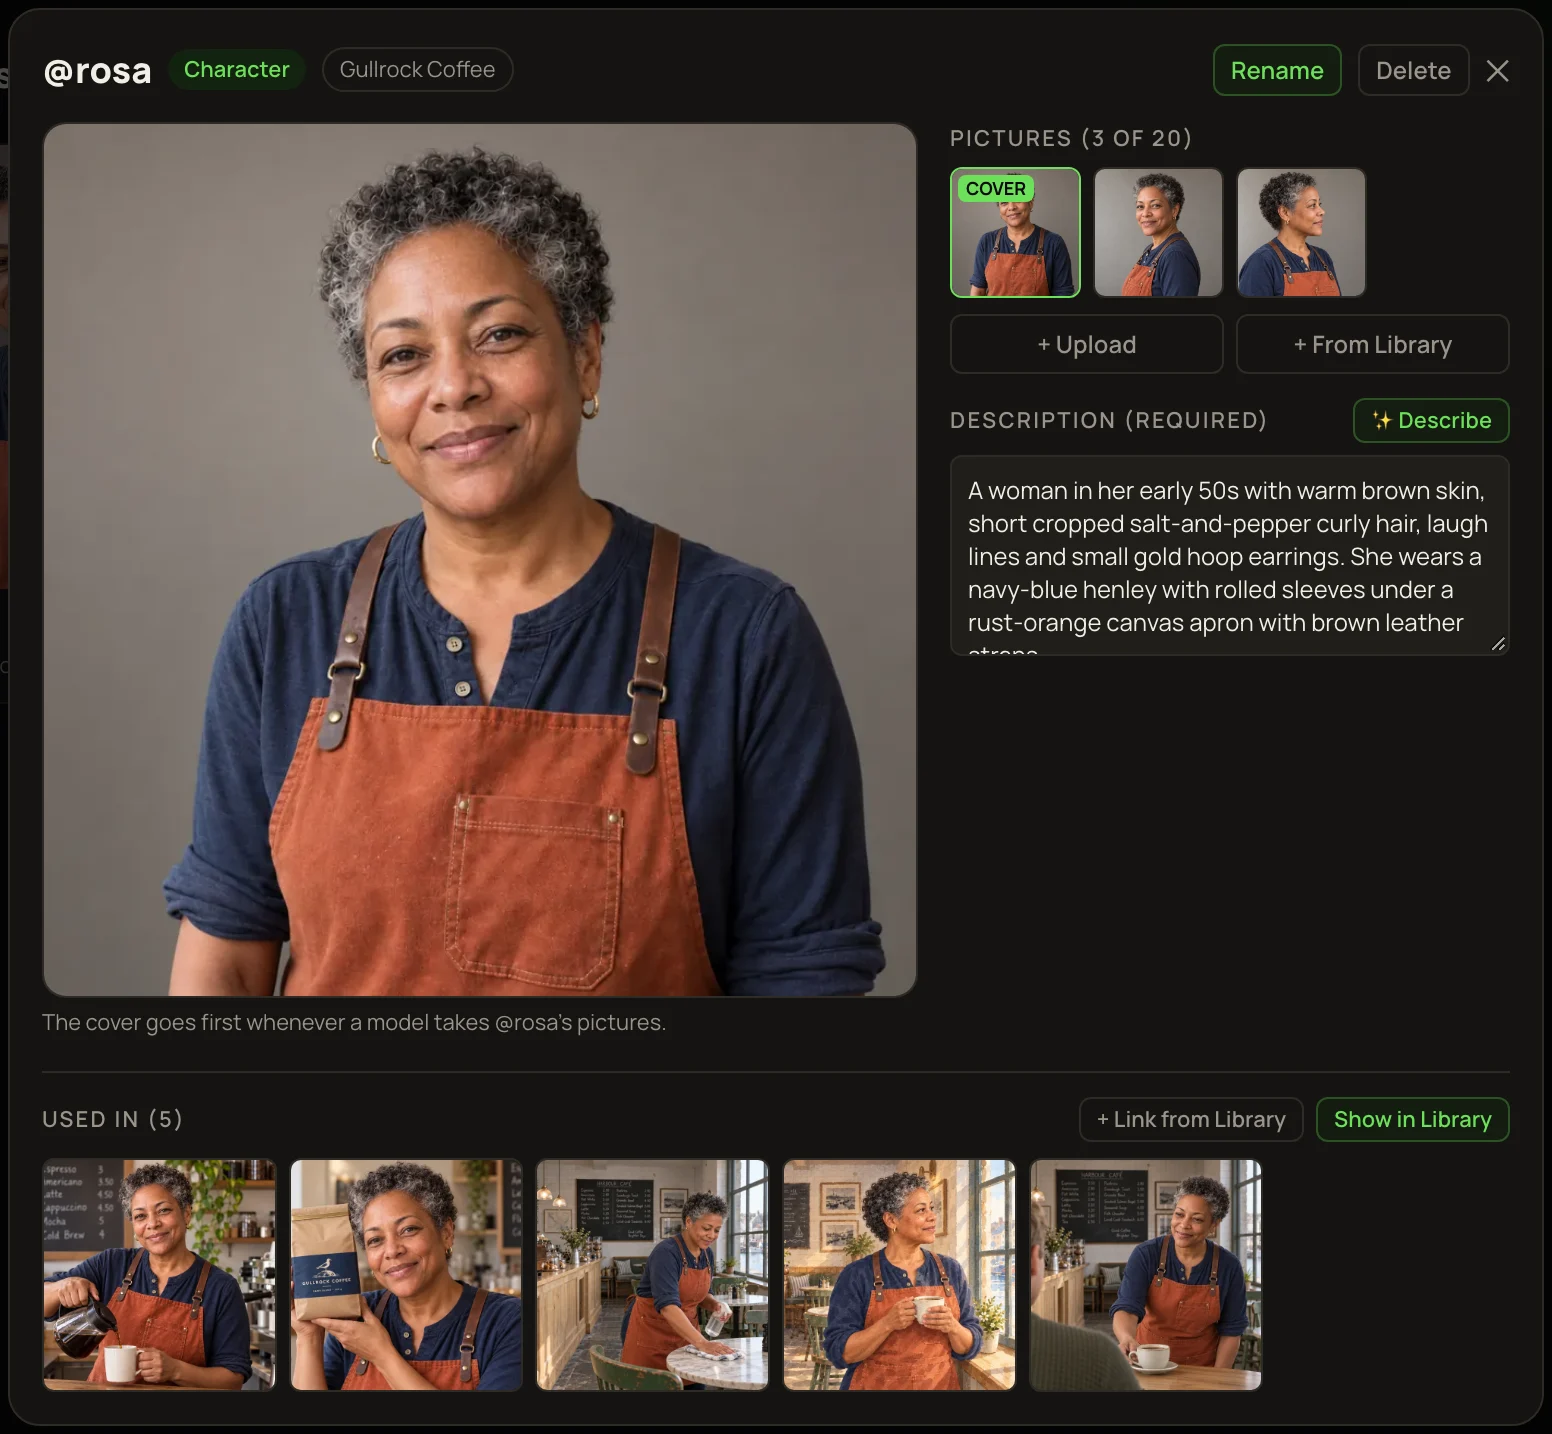
Everything on this page happens in the entity’s own window. To open it, go to Library → Entities in the left menu and click the entity. Here is Rosa’s, from the Gullrock Coffee story in Entities: start here.
Add, swap or remove pictures
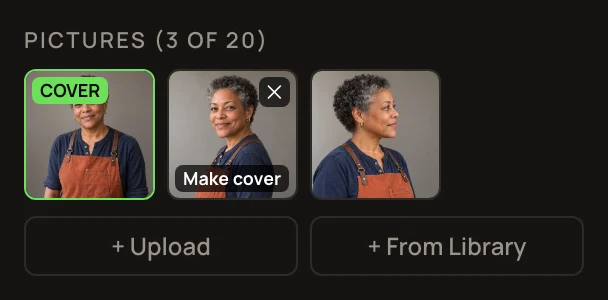
An entity holds 1 to 20 pictures. The first one, marked COVER, matters most: whenever a model takes the entity’s pictures, the cover goes first. If a model has room for only one, it gets the cover. So make your clearest picture the cover.
- 1To add pictures, press + Upload to send them from your computer, or + From Library to pick ones you’ve already made.
- 2To change the cover, point at another picture and press Make cover.
- 3To remove a picture, point at it and press ✕. It asks first. An entity always keeps at least one picture, so add a new one before removing the last.
solorender keeps its own copy of every entity picture. Deleting the original from your Library never breaks the entity.
Change the description
The description is what models that only read words get instead of the pictures (see Why the model you pick matters). If Rosa comes out wrong on those models, the description is the thing to fix.
- 1Edit the text in the Description box. Or press ✨ Describe to have a new one written from the pictures. (You get 3 free a day on sign-up credits, and 25 a day once you’ve bought credits.)
- 2Press Save description. The button only shows up once you’ve changed something.
Rename it
Press Rename at the top right and type the new name. It becomes the entity’s new @name — lowercase, with spaces turned into underscores. No two of your entities can share a name.
Delete it
Press Delete at the top right. It asks you first, and once it’s deleted it can’t be brought back. Here’s what happens:
Used in: everything made with it
Each time you make something with an entity’s @name in the prompt, it’s linked to that entity on its own. The Used in row at the bottom of the window shows the newest 48 (the count says “48+” when there are more).
Palettes and ready-made styles
To change a palette, open it, change the colours with the colour pickers and press Save colours.
The ready-made styles on the Styles page can’t be changed or deleted. But if you make a style of your own with the same name, yours takes its place in your prompts.